Classic
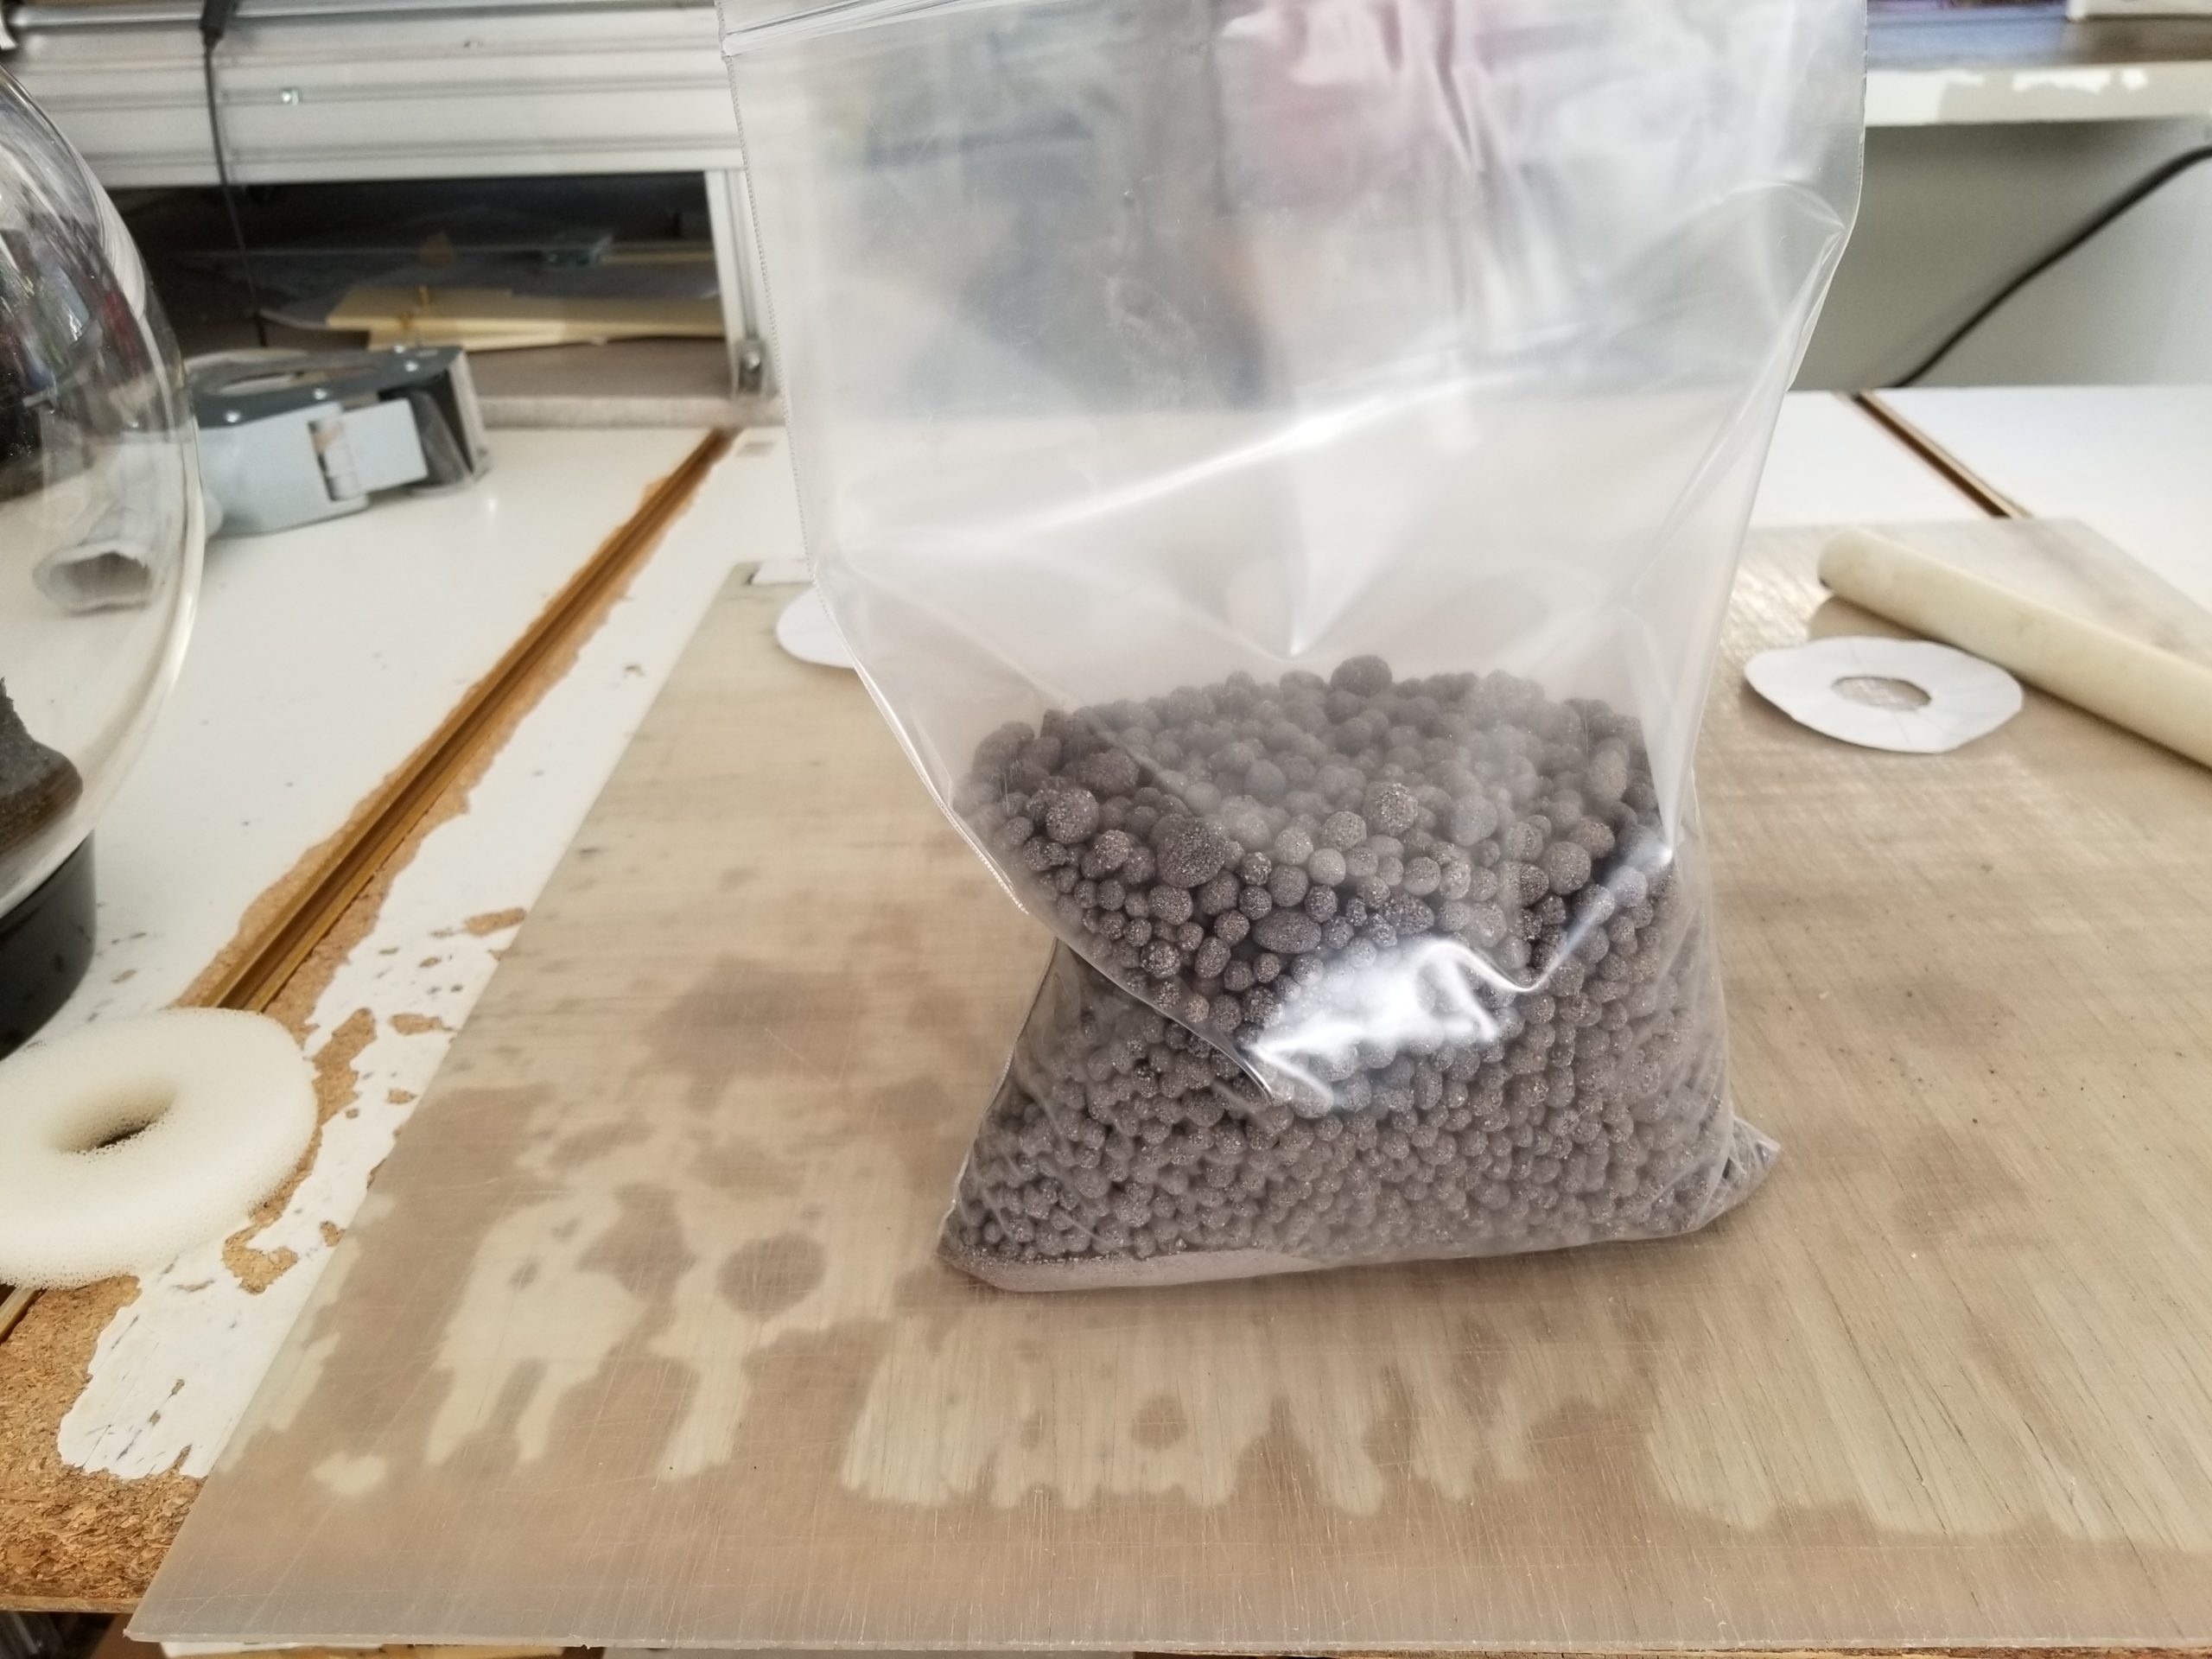
BioGravel may be used to improve the filtration of Biorb and similar filters.

| Biorb Capacity | |
| Model | Amount of BioGravel Required |
| 15 lt (4 gal) | 1.5 kg |
| 30 lt (8 gal) | 2 kg |
| 60 lt (16 gal) | 3.5 kg |
| 105 lt (28 gal) | 5 kg |
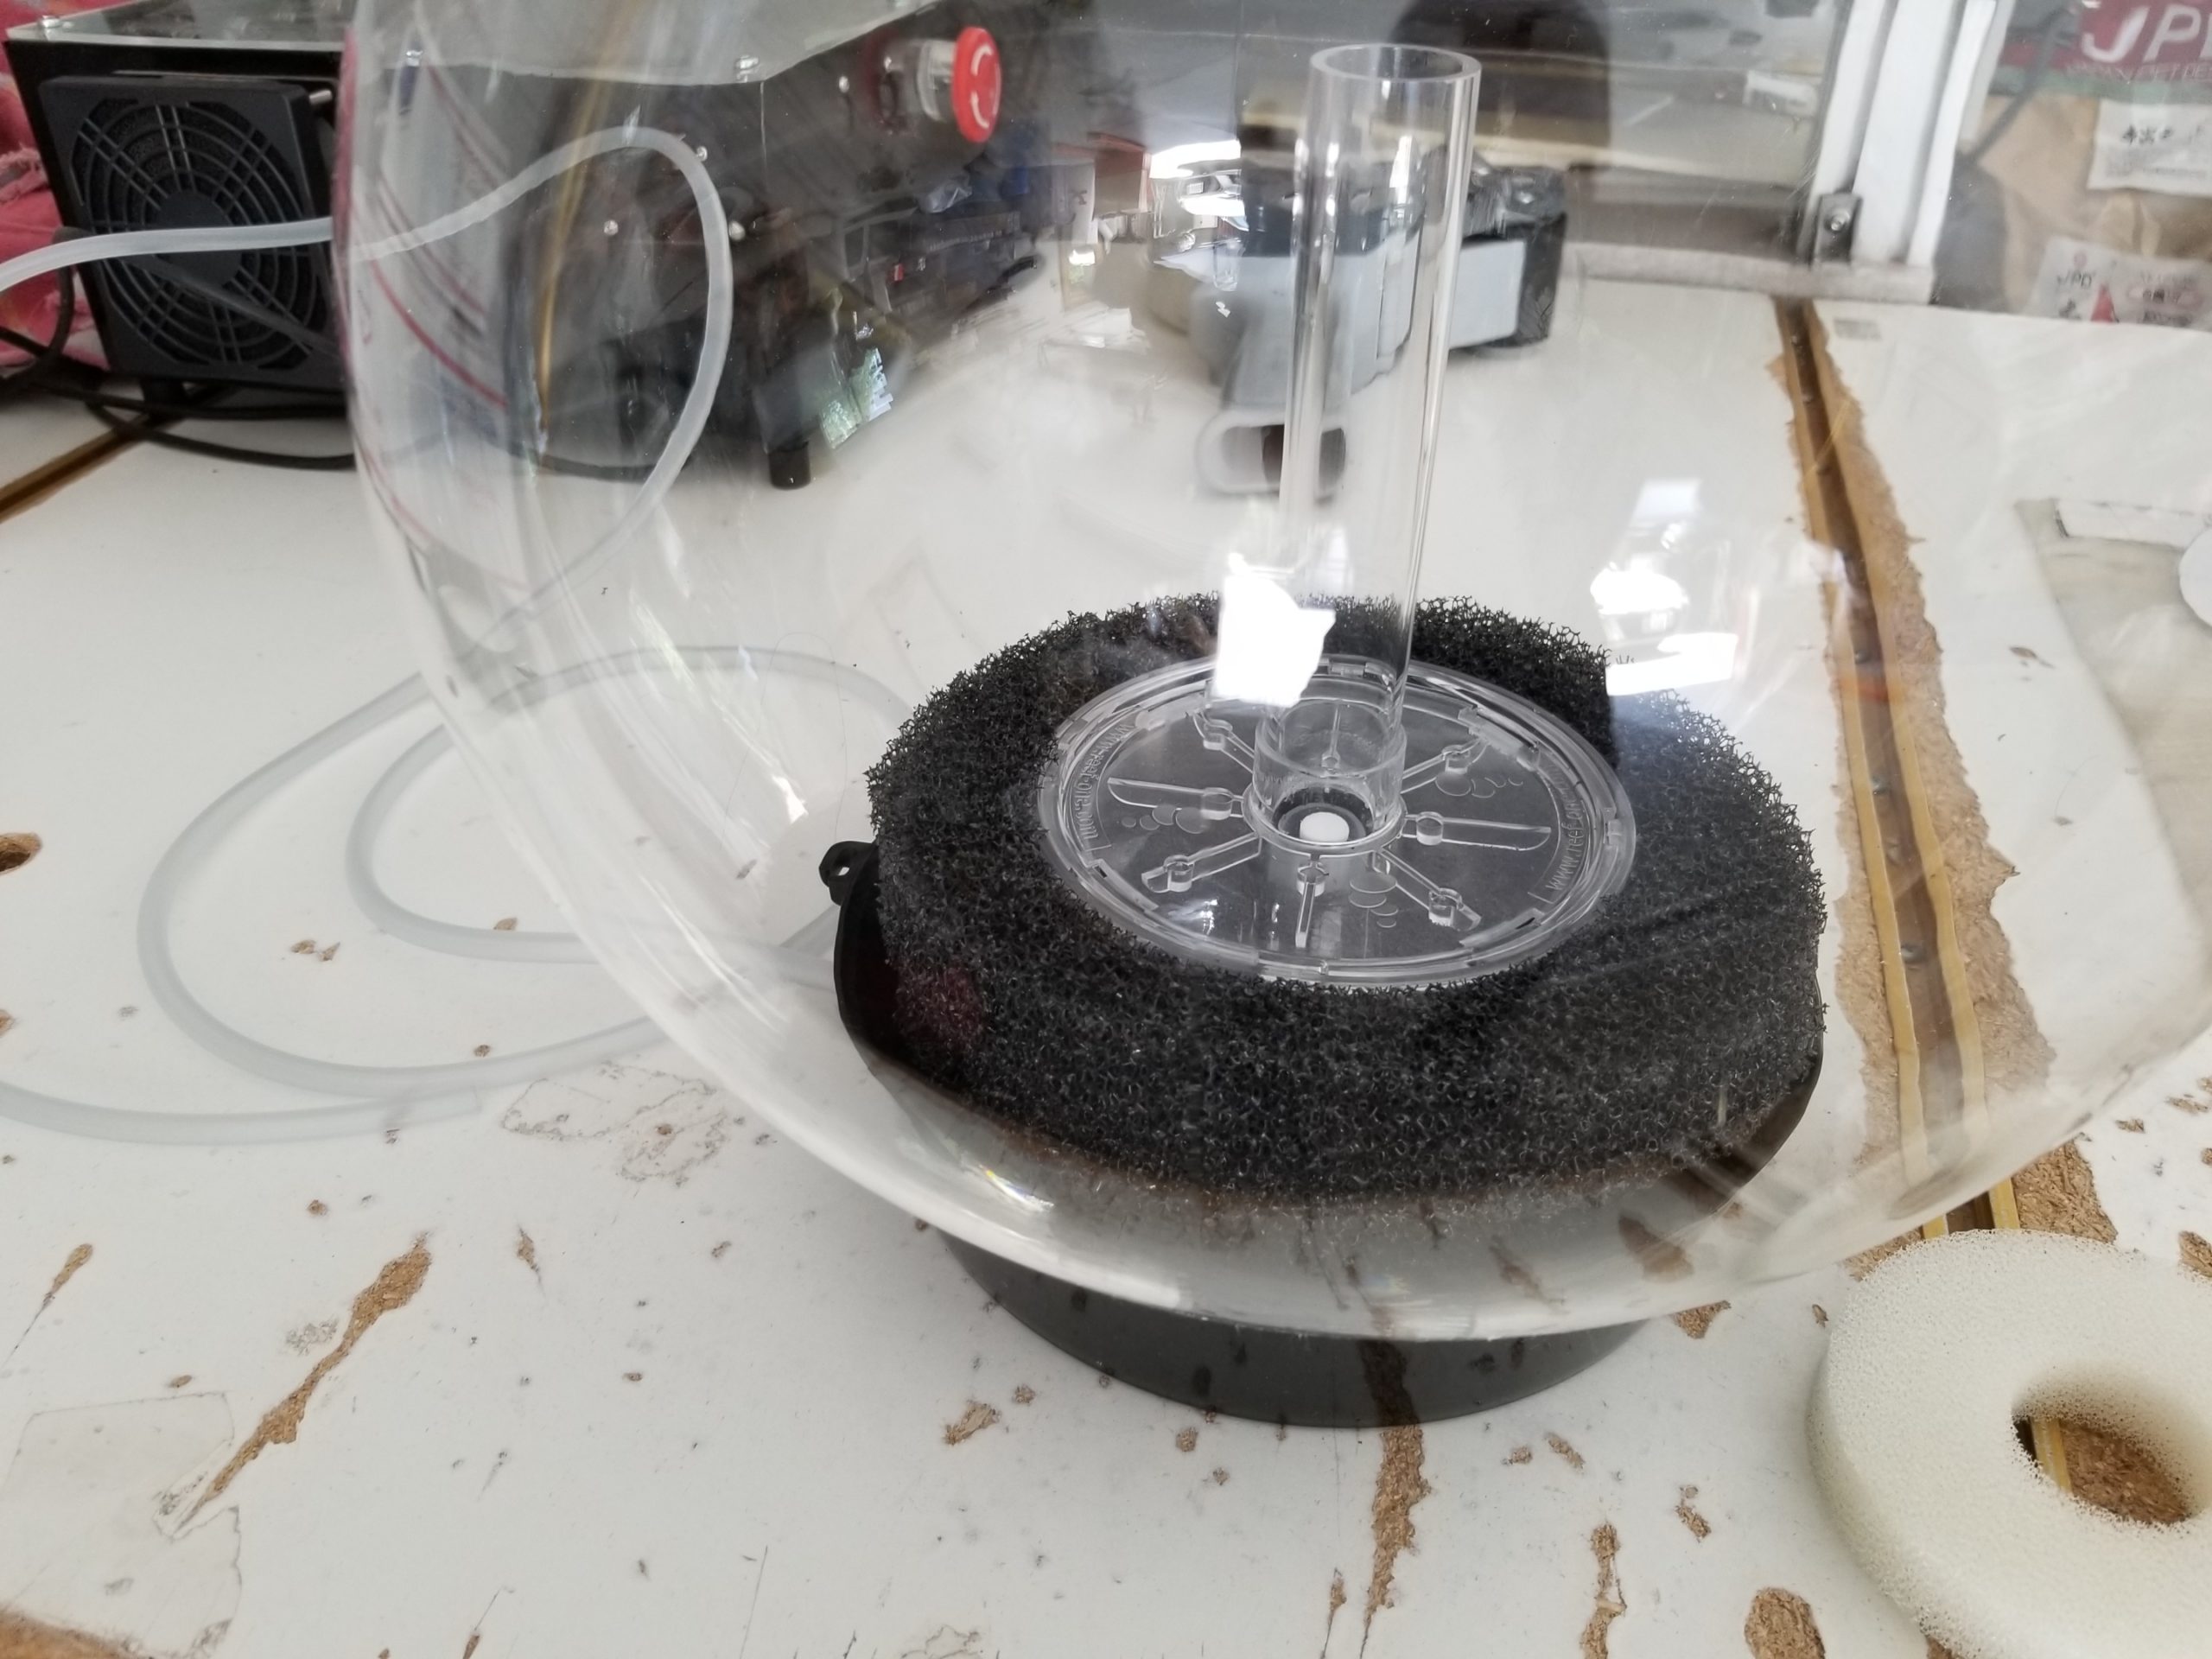
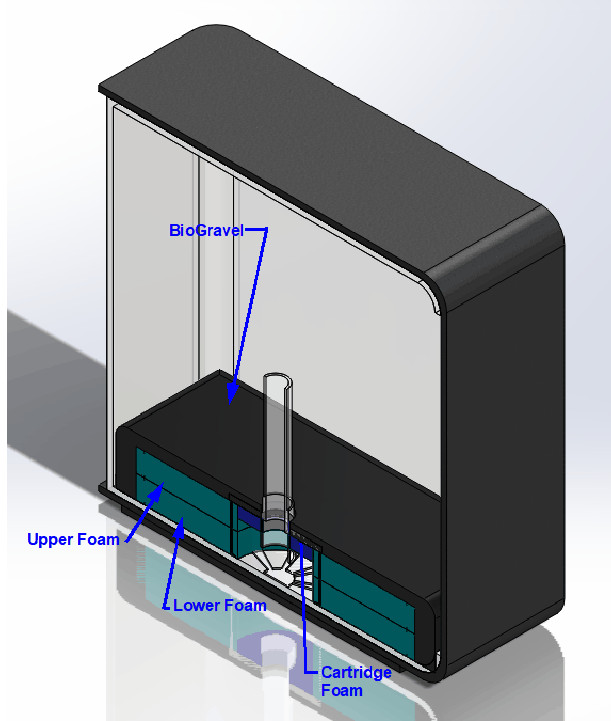
Lower/Cartridge Foam
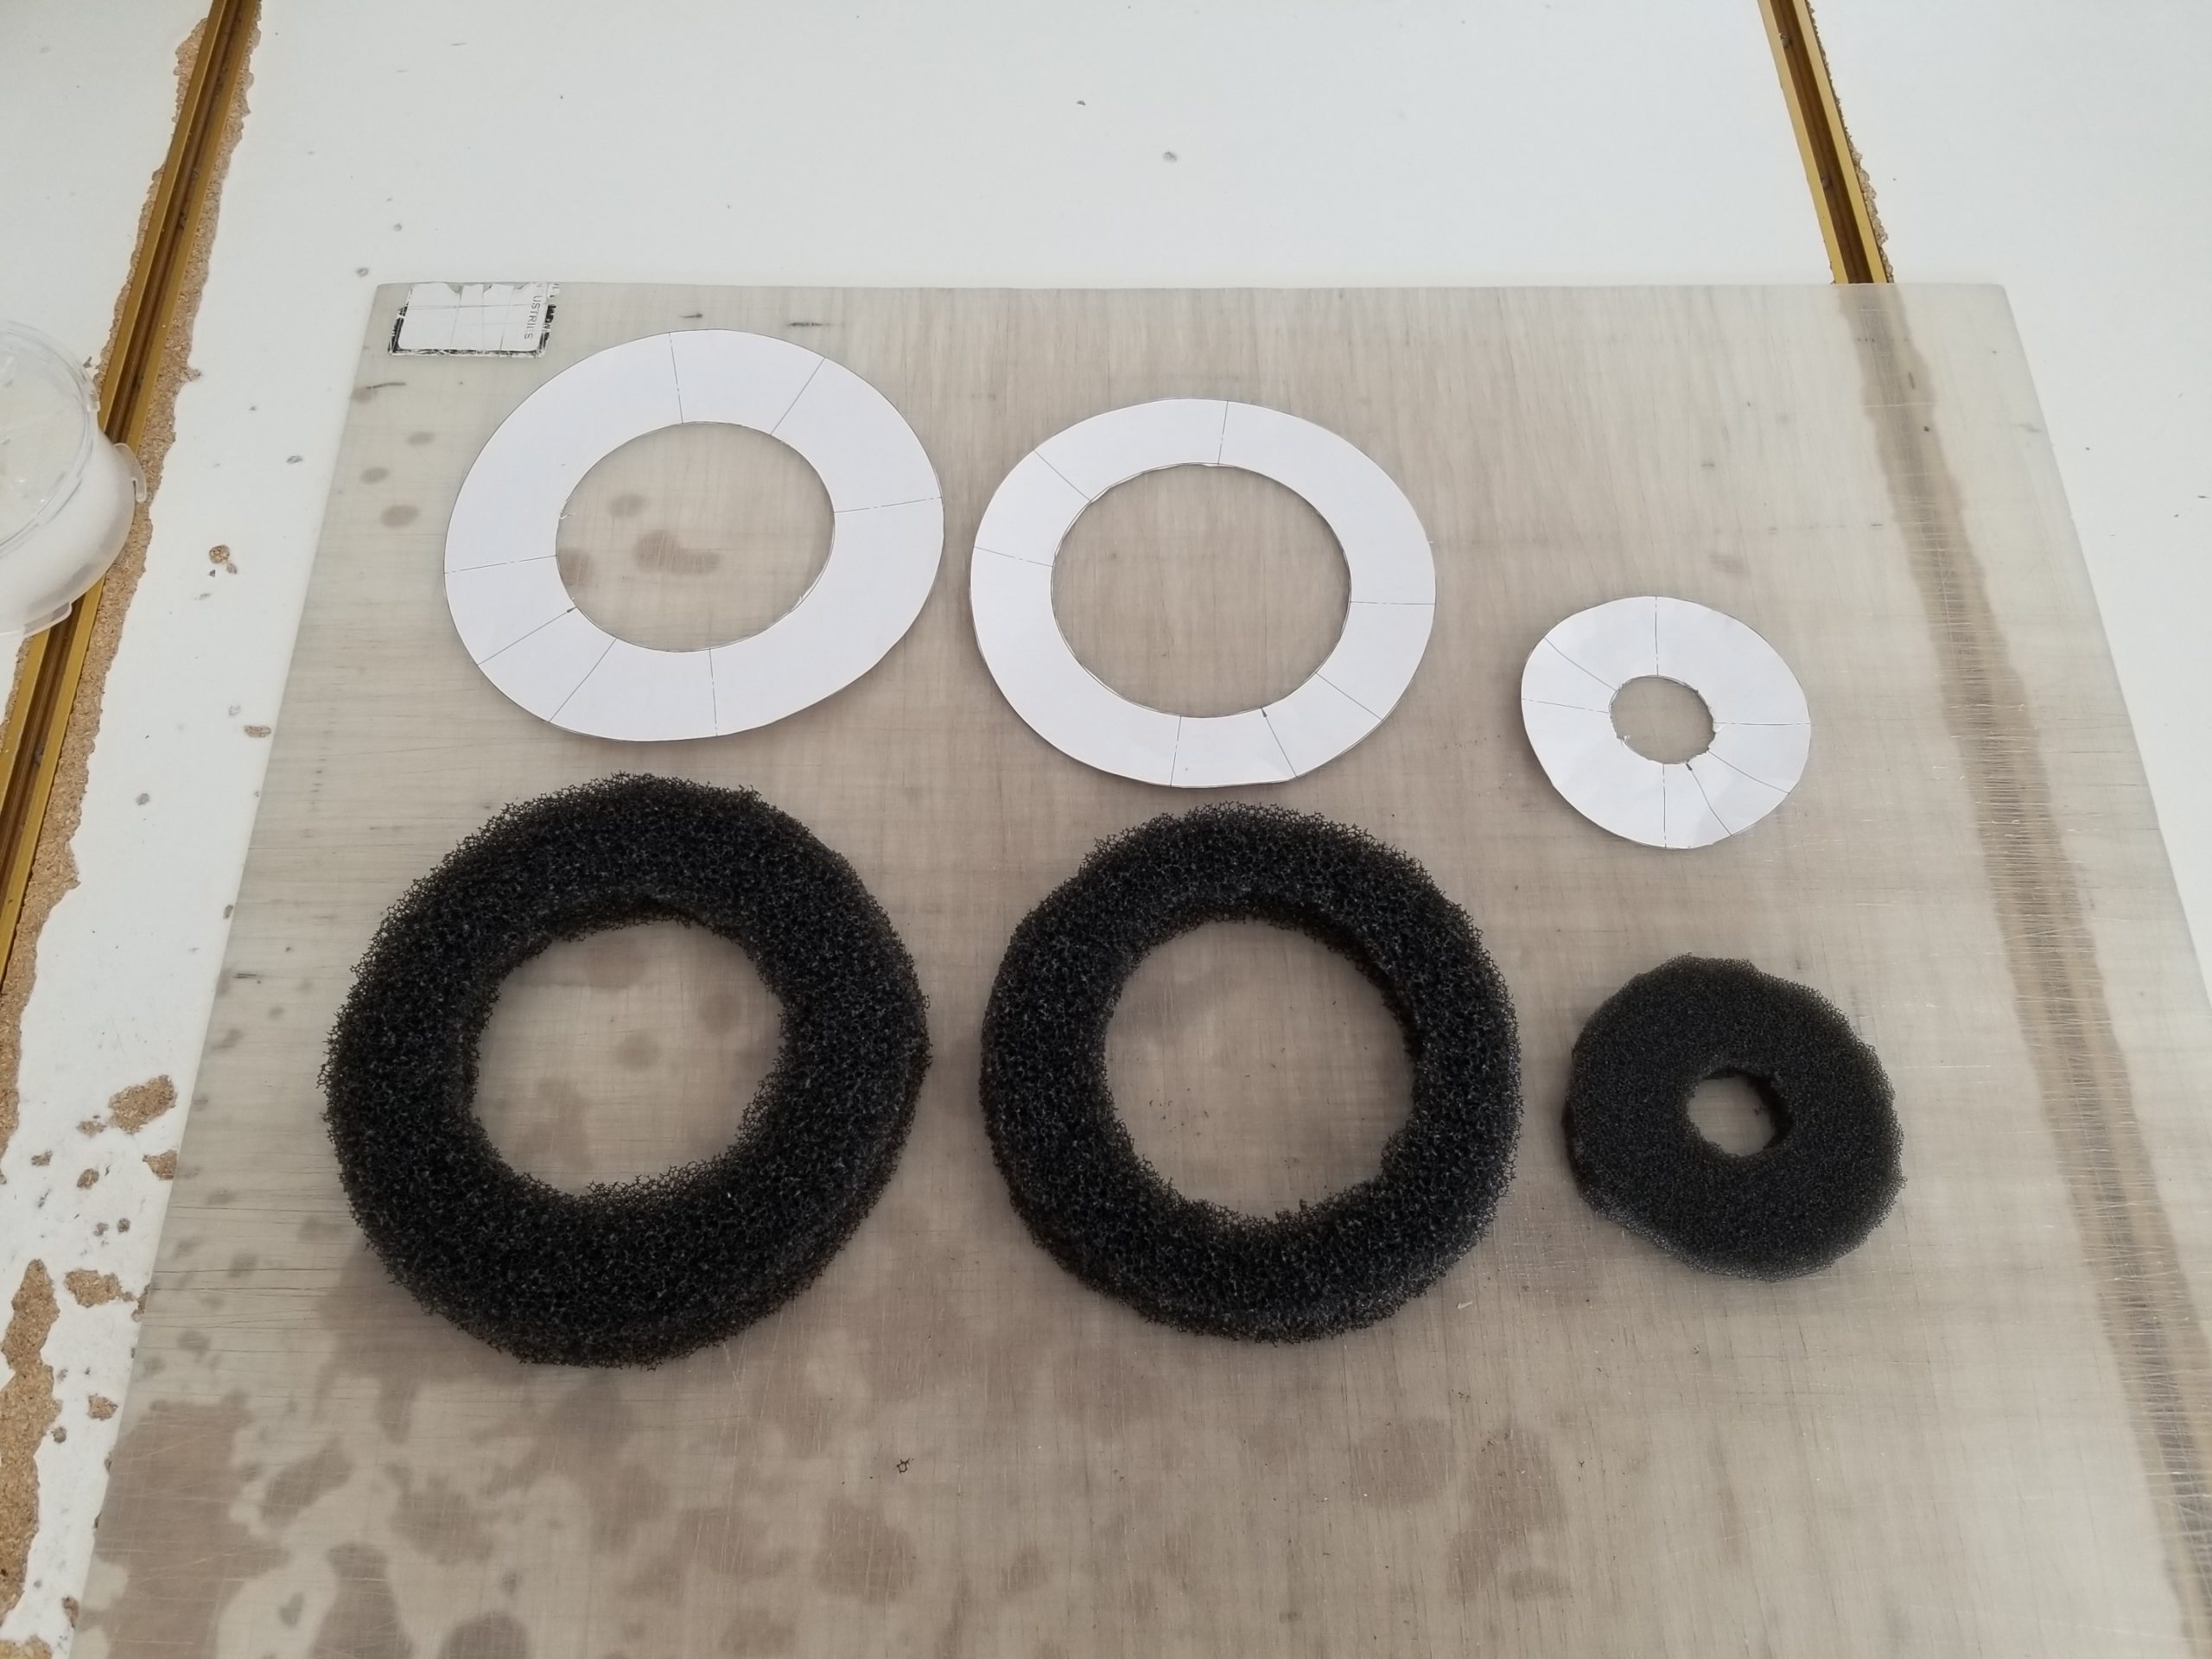
All models use the same Lower and Cartridge Foam. We recommend you use Medium Foam for the Lower Foam.
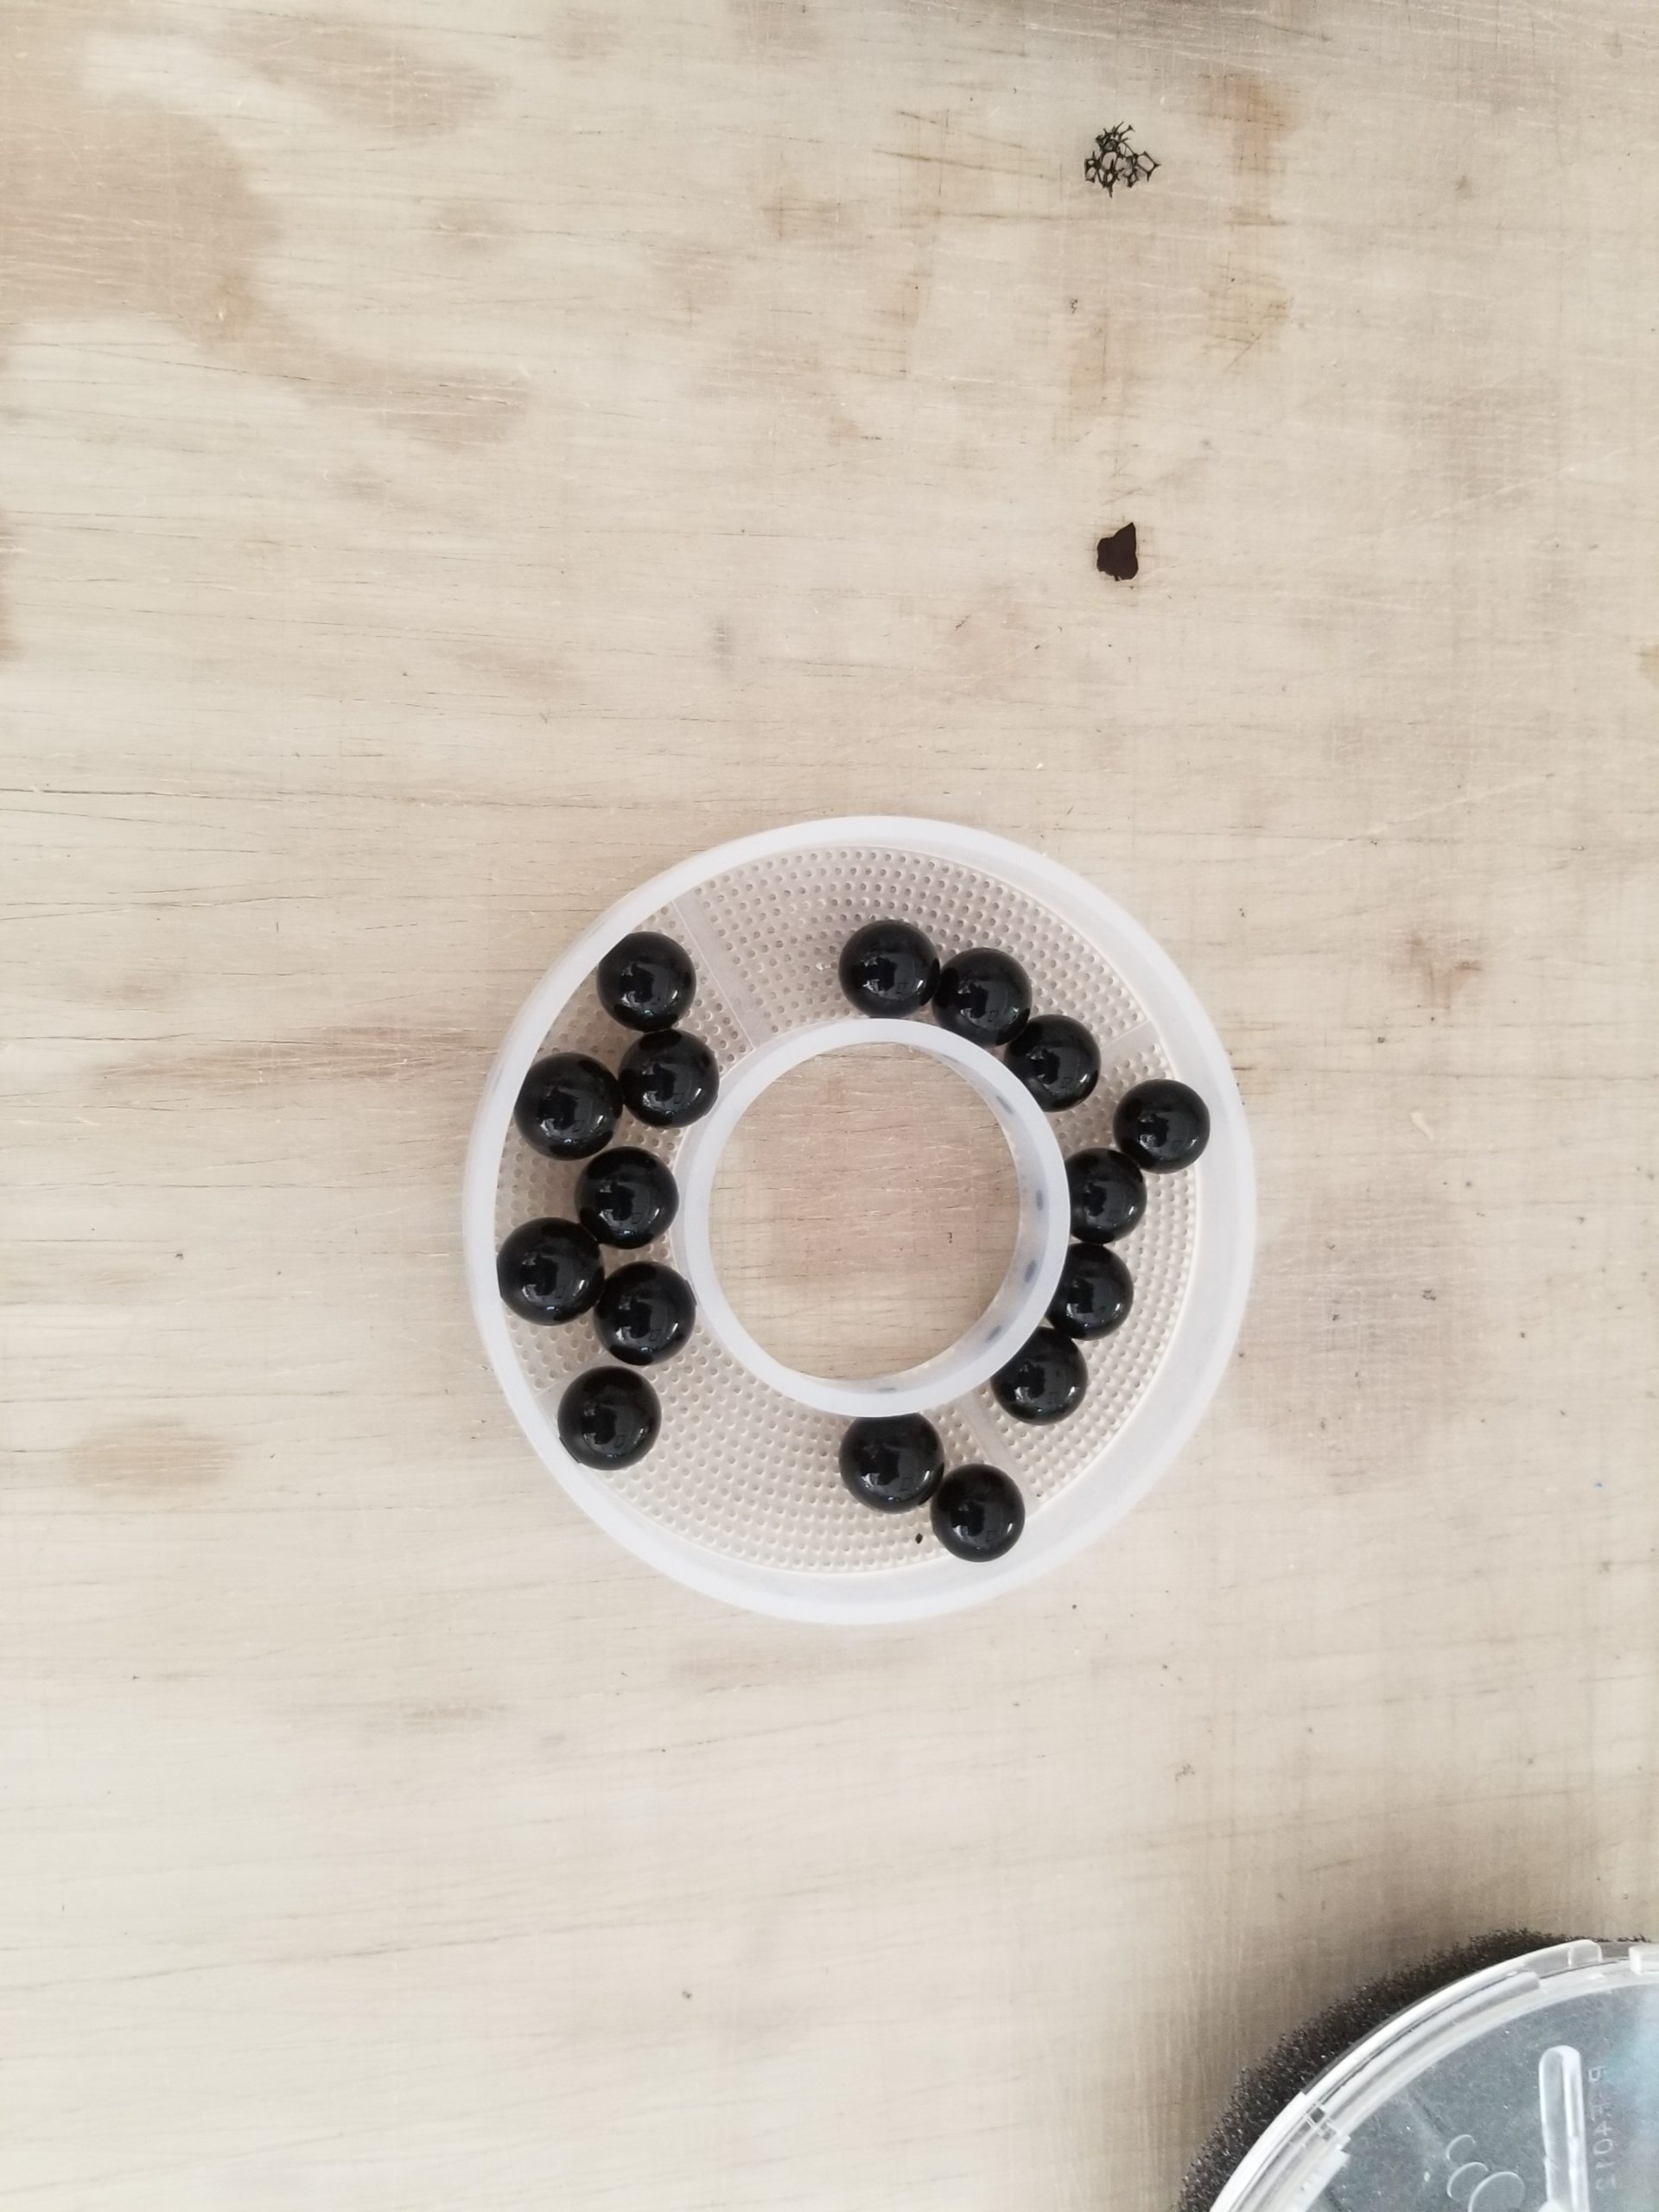
The small Cartridge Foam (Fine) will be placed inside the center filter cartridge. There isn’t space enough available below the foam to hold any worthwhile amount of BioGravel, so we recommend you place the Filter Starter Balls here.
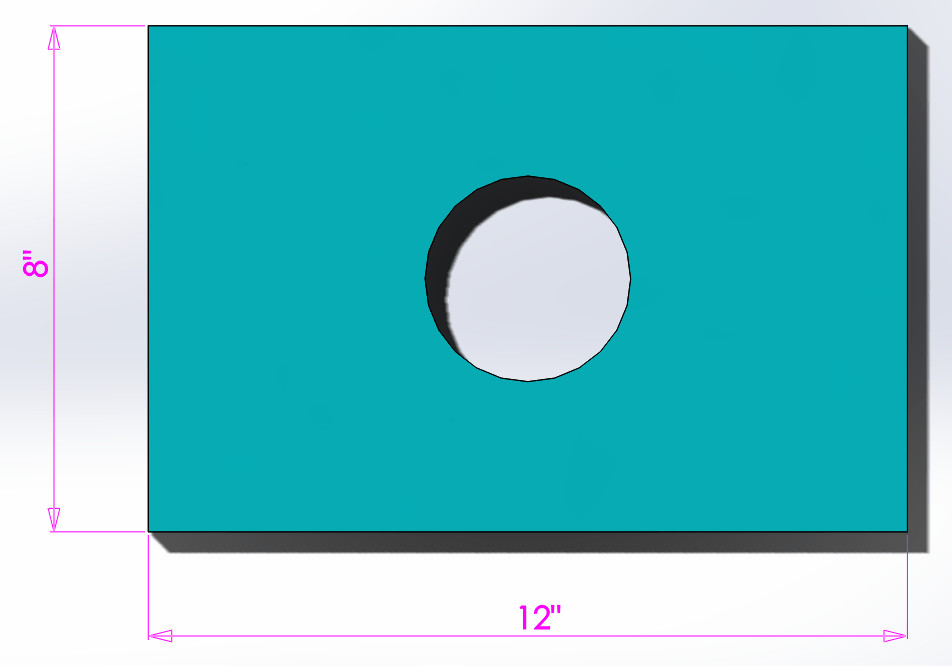
Note that both of these Foams can be cut from sheets of our 6 1/2″ Foam sheets. Full size templates for the Lower and Cartridge Foams are provided at these links:
Lower Template
Cartridge Template
Be sure to set your printer to print full size when printing these templates.

Upper Foam
The size of the Upper Foam depends of the model of the BiOrb being upgraded. We recommend you also use Medium Foam for this. It is placed on top of the Lower Foam.
Full sized templates for the Upper Foam are available by following these links:
15 lt (4 gal) Upper Foam Template
30 lt (8 gal) Upper Foam Template
60 lt (16 gal) Upper Foam Template
105 lt (28 gal) Upper Foam Template
Final Setup
Place the Filter Starter Balls into the Cartridge Basket.
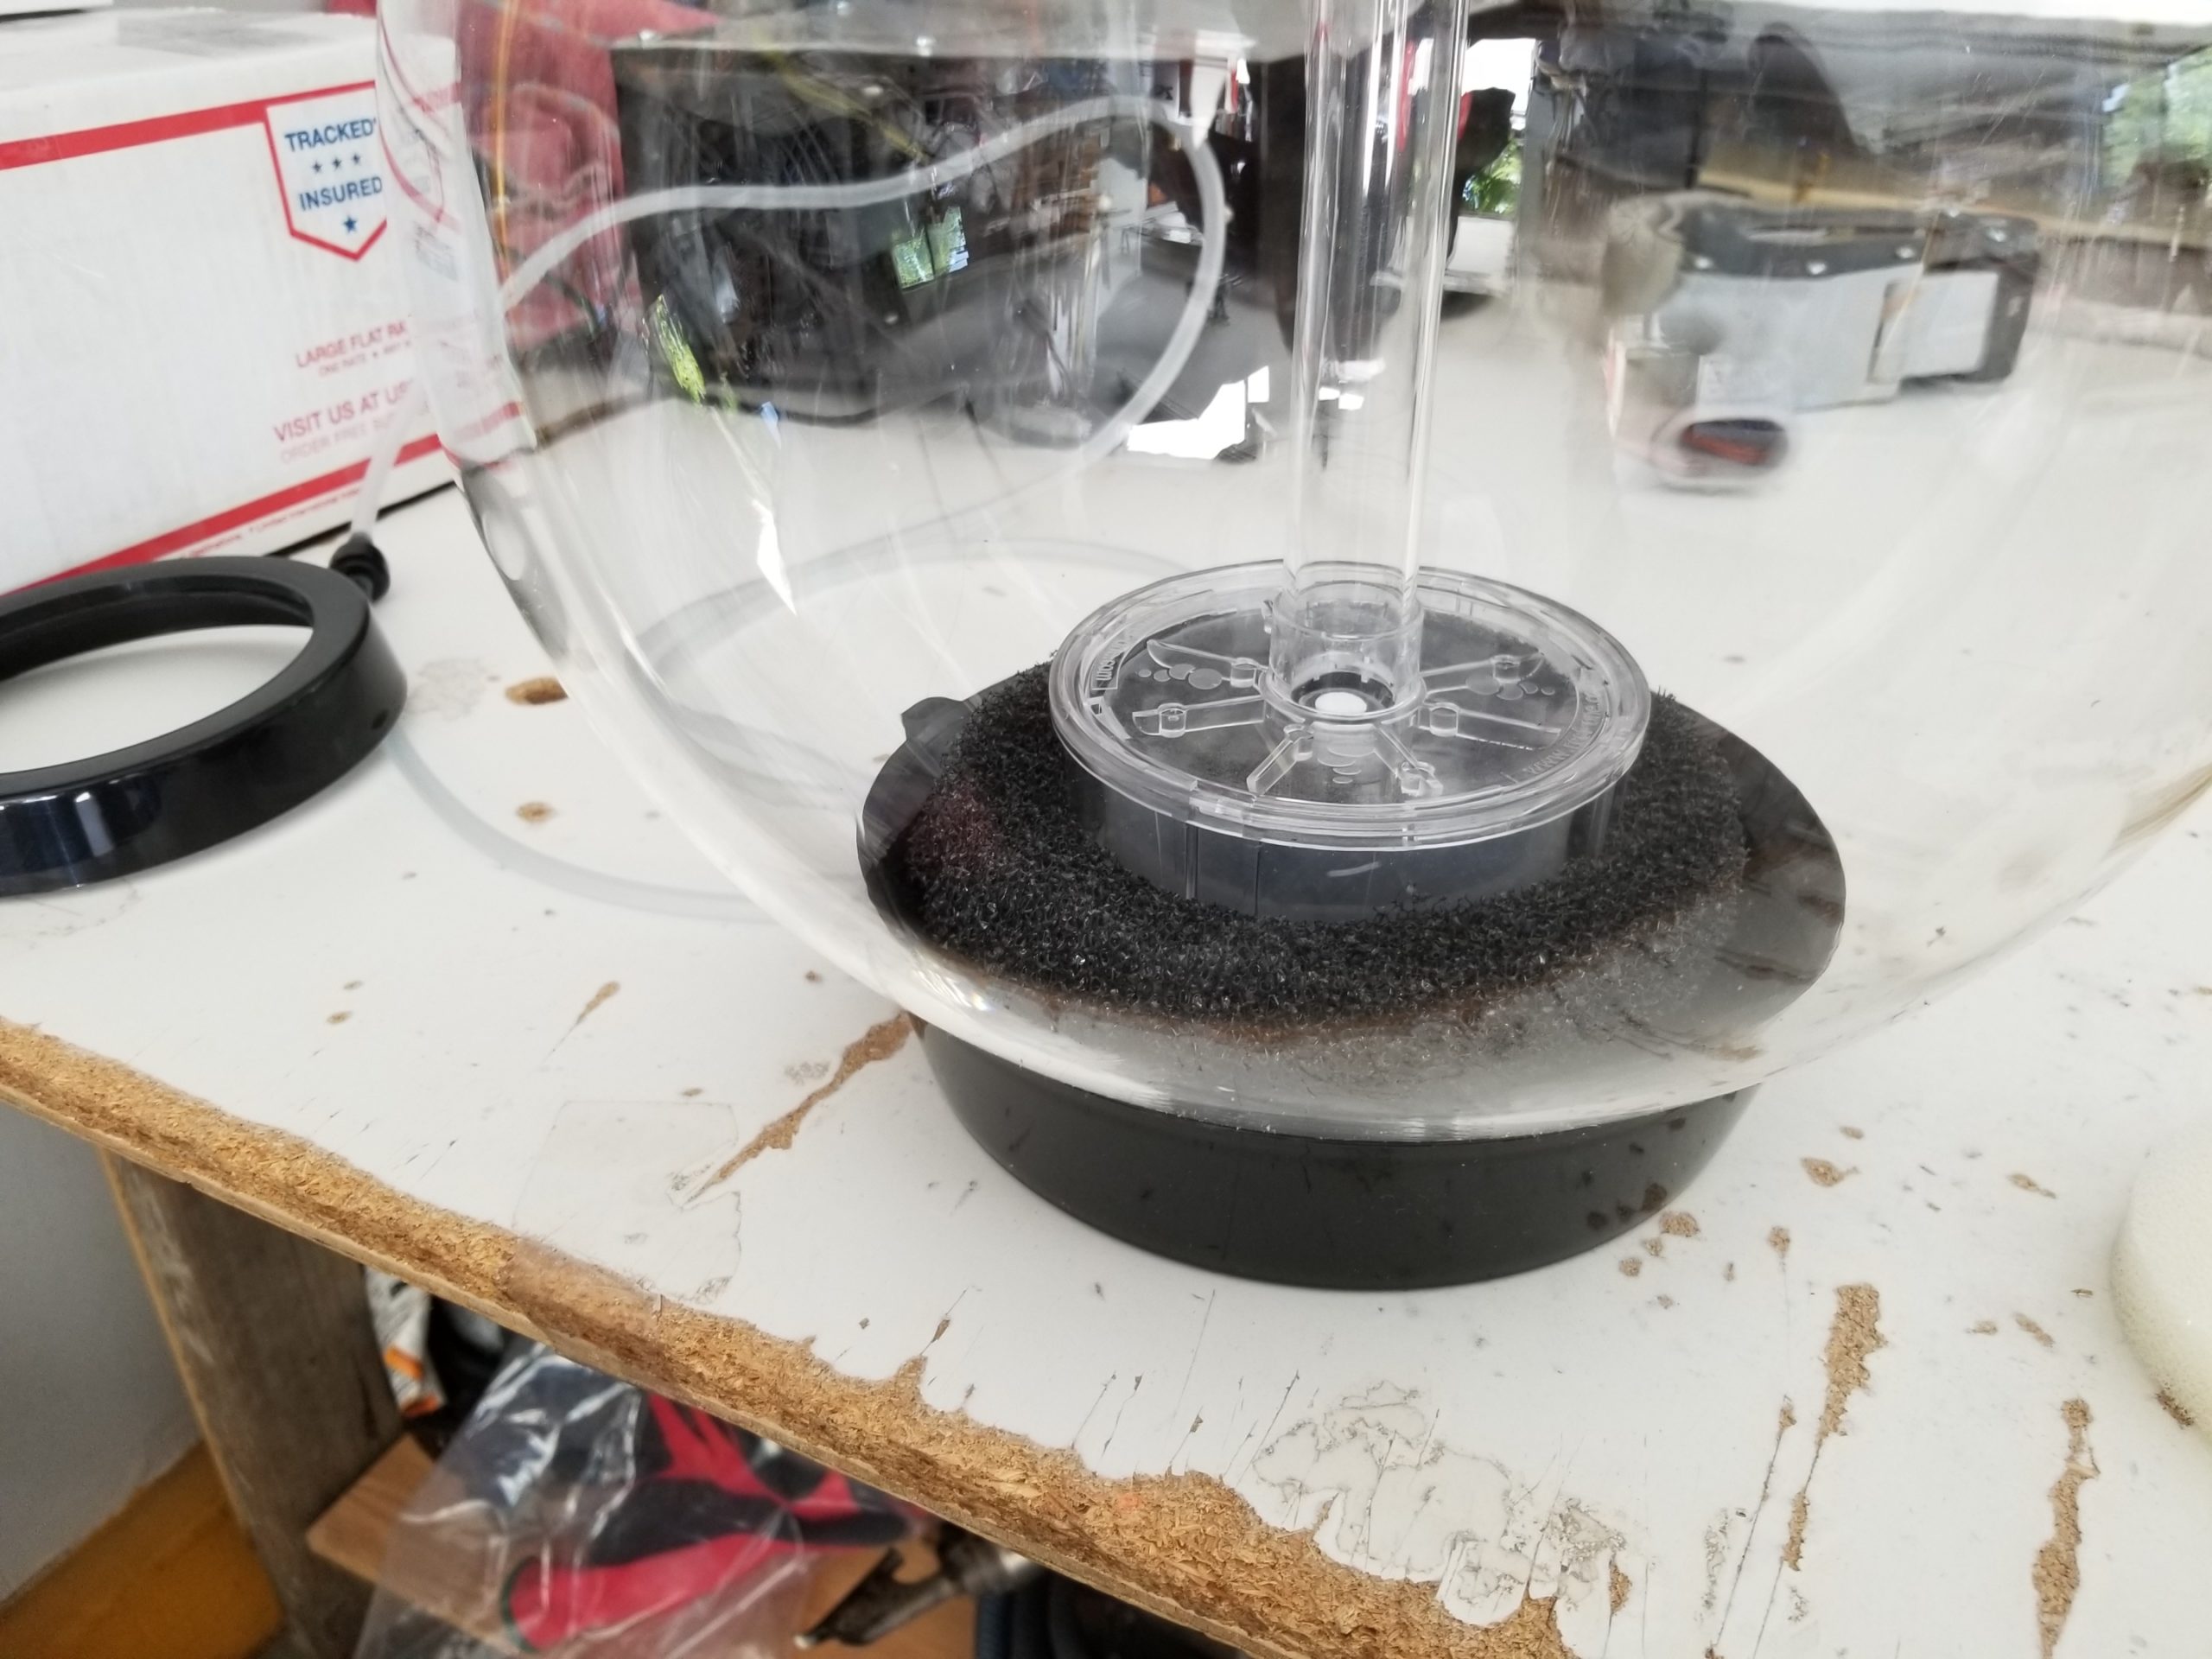
Install the Cartridge Foam into the top of the Cartridge and assemble the Cartridge.

Lock the Cartridge into the BiOrb and then insert the Lower Foam.
Then install the Upper Foam.
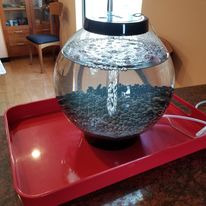
The BiOrb is now ready to accept the BioGravel. Rinse the media in tank water to remove any dust. Then spread the required amount over the Upper Foam and center Cartridge.
Fill the tank with dechlorinated water, turn on the air pump and run for an hour or so to make sure everything is running smoothly and there was no debris missed when you rinsed the Foam and Media.
Note that Prime and many other dechlorinators also bind ammonia, nitrite and nitrate. It has been observed that this delays or defeats the development of bacteria in Biohome® . We recommend using properly mineralized RO water or API Stress Coat dechlorinator.
Now you’re ready to start adding fish. Please stock the tank gradually and keep the fish selection sensible. Your dealer should be able to help you select fish suitable for a small tank.
The BioGravel should cycle to control ammonia and nitrite in 2 to 3 weeks and nitrate in 4 to 6 months. Plants may be planted directly in the BioGravel.
Cube
The Cube can be upgraded just like the Classic BiOrb.

| Biorb Cube Capacity | |
| Model | Amount of BioGravel Required |
| 30 lt (8 gal) | 3 kgs |
| 60 lt (16 gal) | 4 kgs |
Tube
The Tube can be upgraded just like the Classic BiOrb.

| Biorb Tube Capacity | |
| Model 15 lt (4 gal) | Amount of BioGravel Required 3 kgs |
| 30 lt (8 gal) | 3 kgs |
| 35 lt (9.2gal) | 5 kgs |
Foam Filters
The size of the Foam Filters depends of the model of the BiOrb Tube being upgraded. We recommend you also use Medium Foam for this. The Tube uses two identical Foam Filters.
Full sized templates for the Foam Filters are available by following these links:
15 lt (4 gal) – 30 lt (8 gal) Foam Template
35 lt (9.2 gal) Upper Foam Template
Final Setup
Place the Filter Starter Balls into the Cartridge Basket
Install the Cartridge Foam into the top of the Cartridge and assemble the Cartridge. Use the stock foam.
Lock the Cartridge into the BiOrb and then insert the Foams.
Fill with BioGravel and spread evenly to cover Foams and Cartridge.
Flow
Upgrading the Flow is very similar to upgrading the Cube.
| Biorb Flow Capacity | |
| Model | Amount of BioGravel Required |
| 15 lt (4 gal) | 1.5 kgs |
| 30 lt (8 gal) | 2 kgs |
Foam Filters
The size of the Foam Filters depends of the model of the BiOrb Flow being upgraded. We recommend you also use Medium Foam for this. The Tube uses two identical Foam Filters.